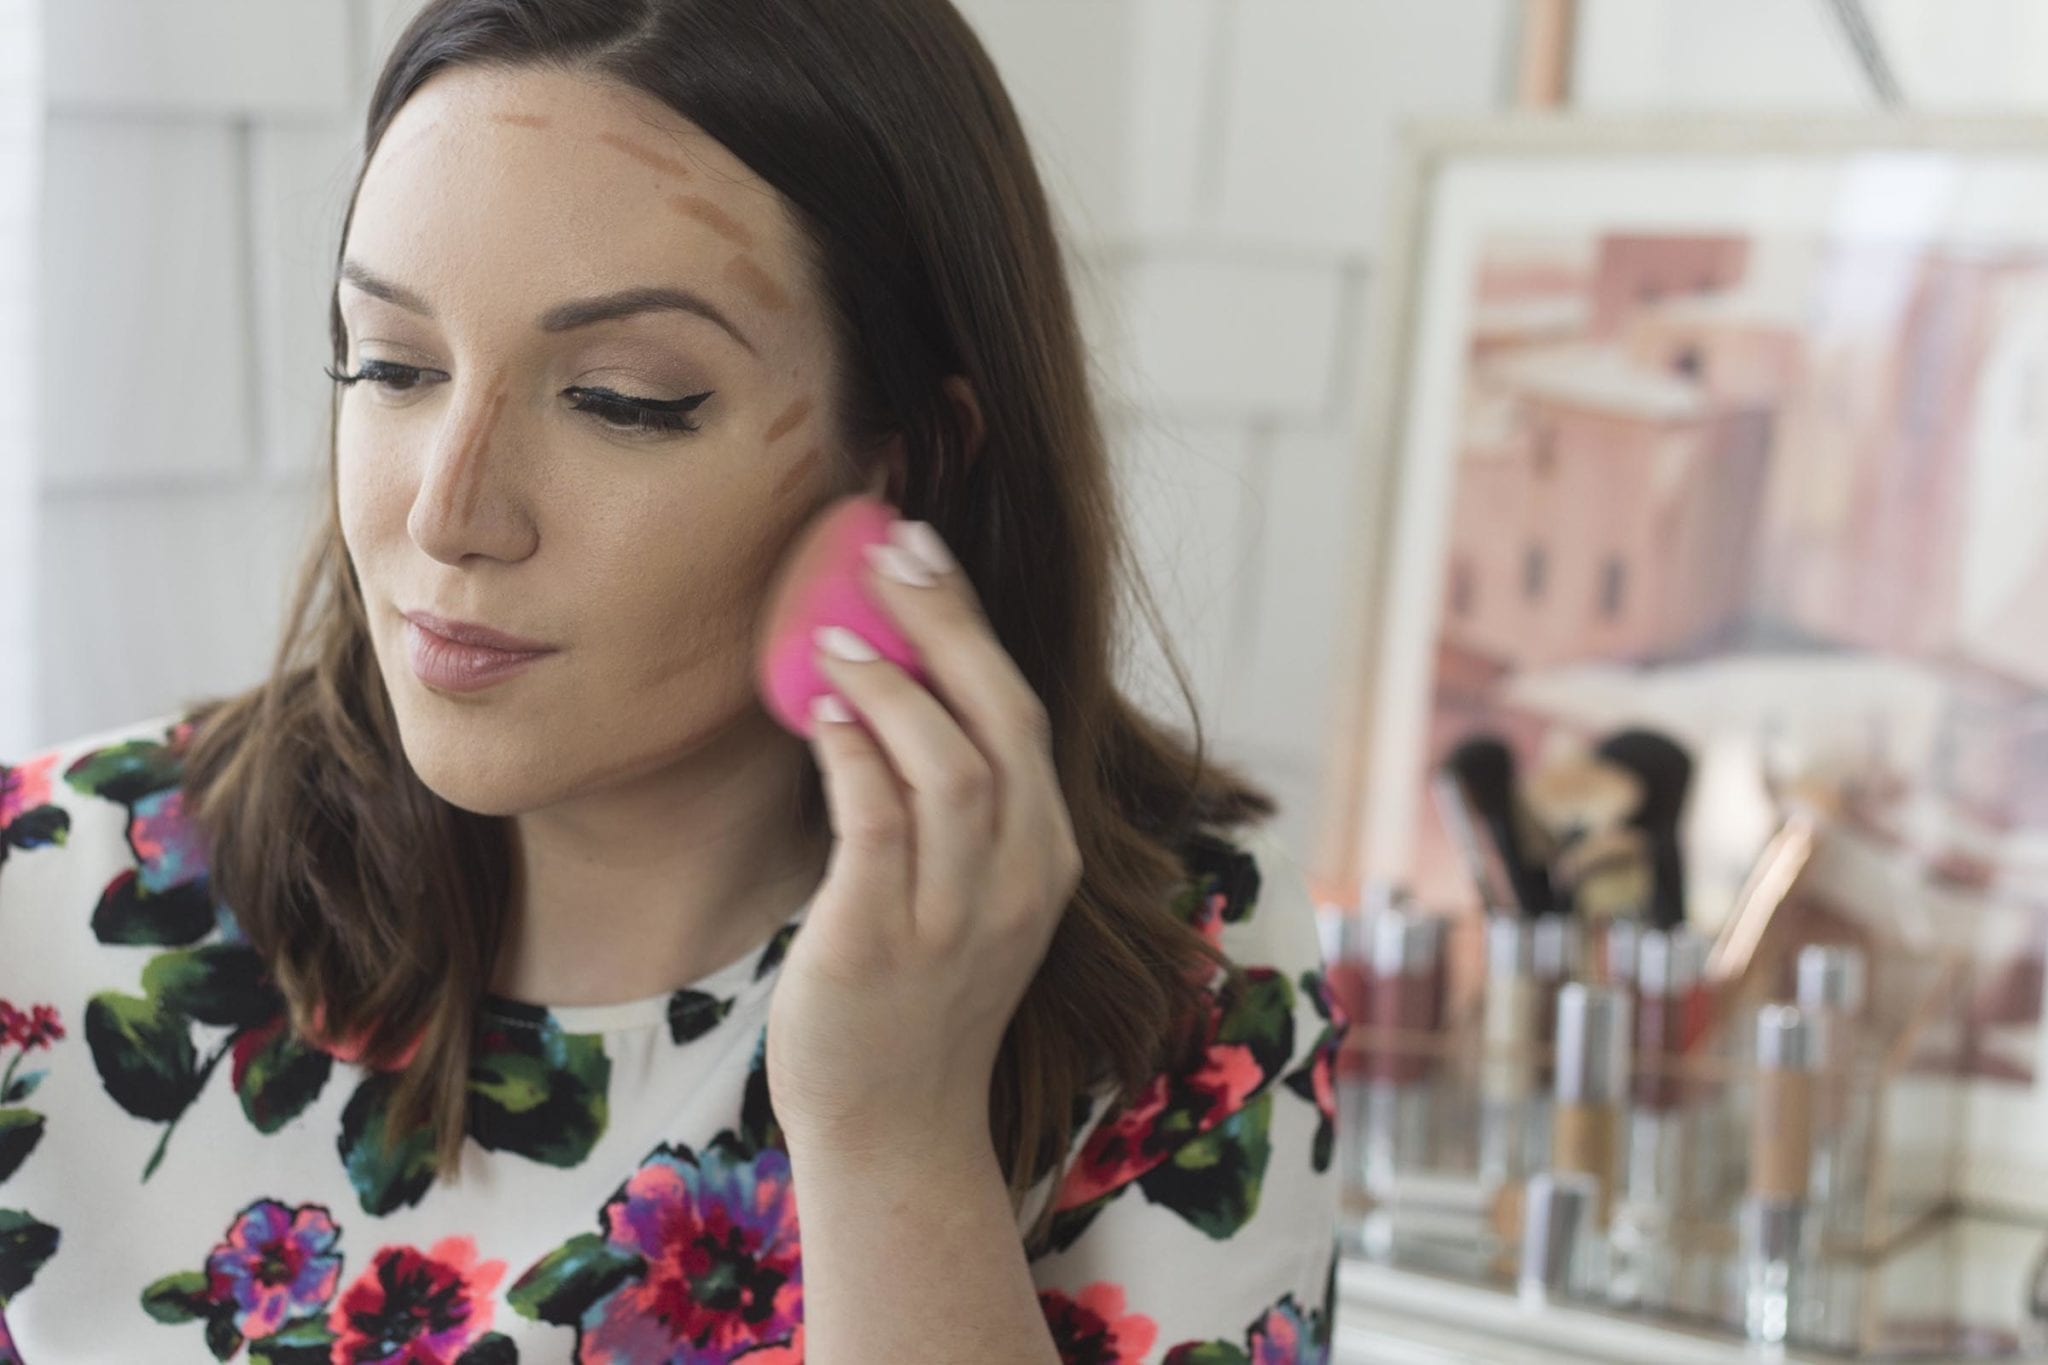
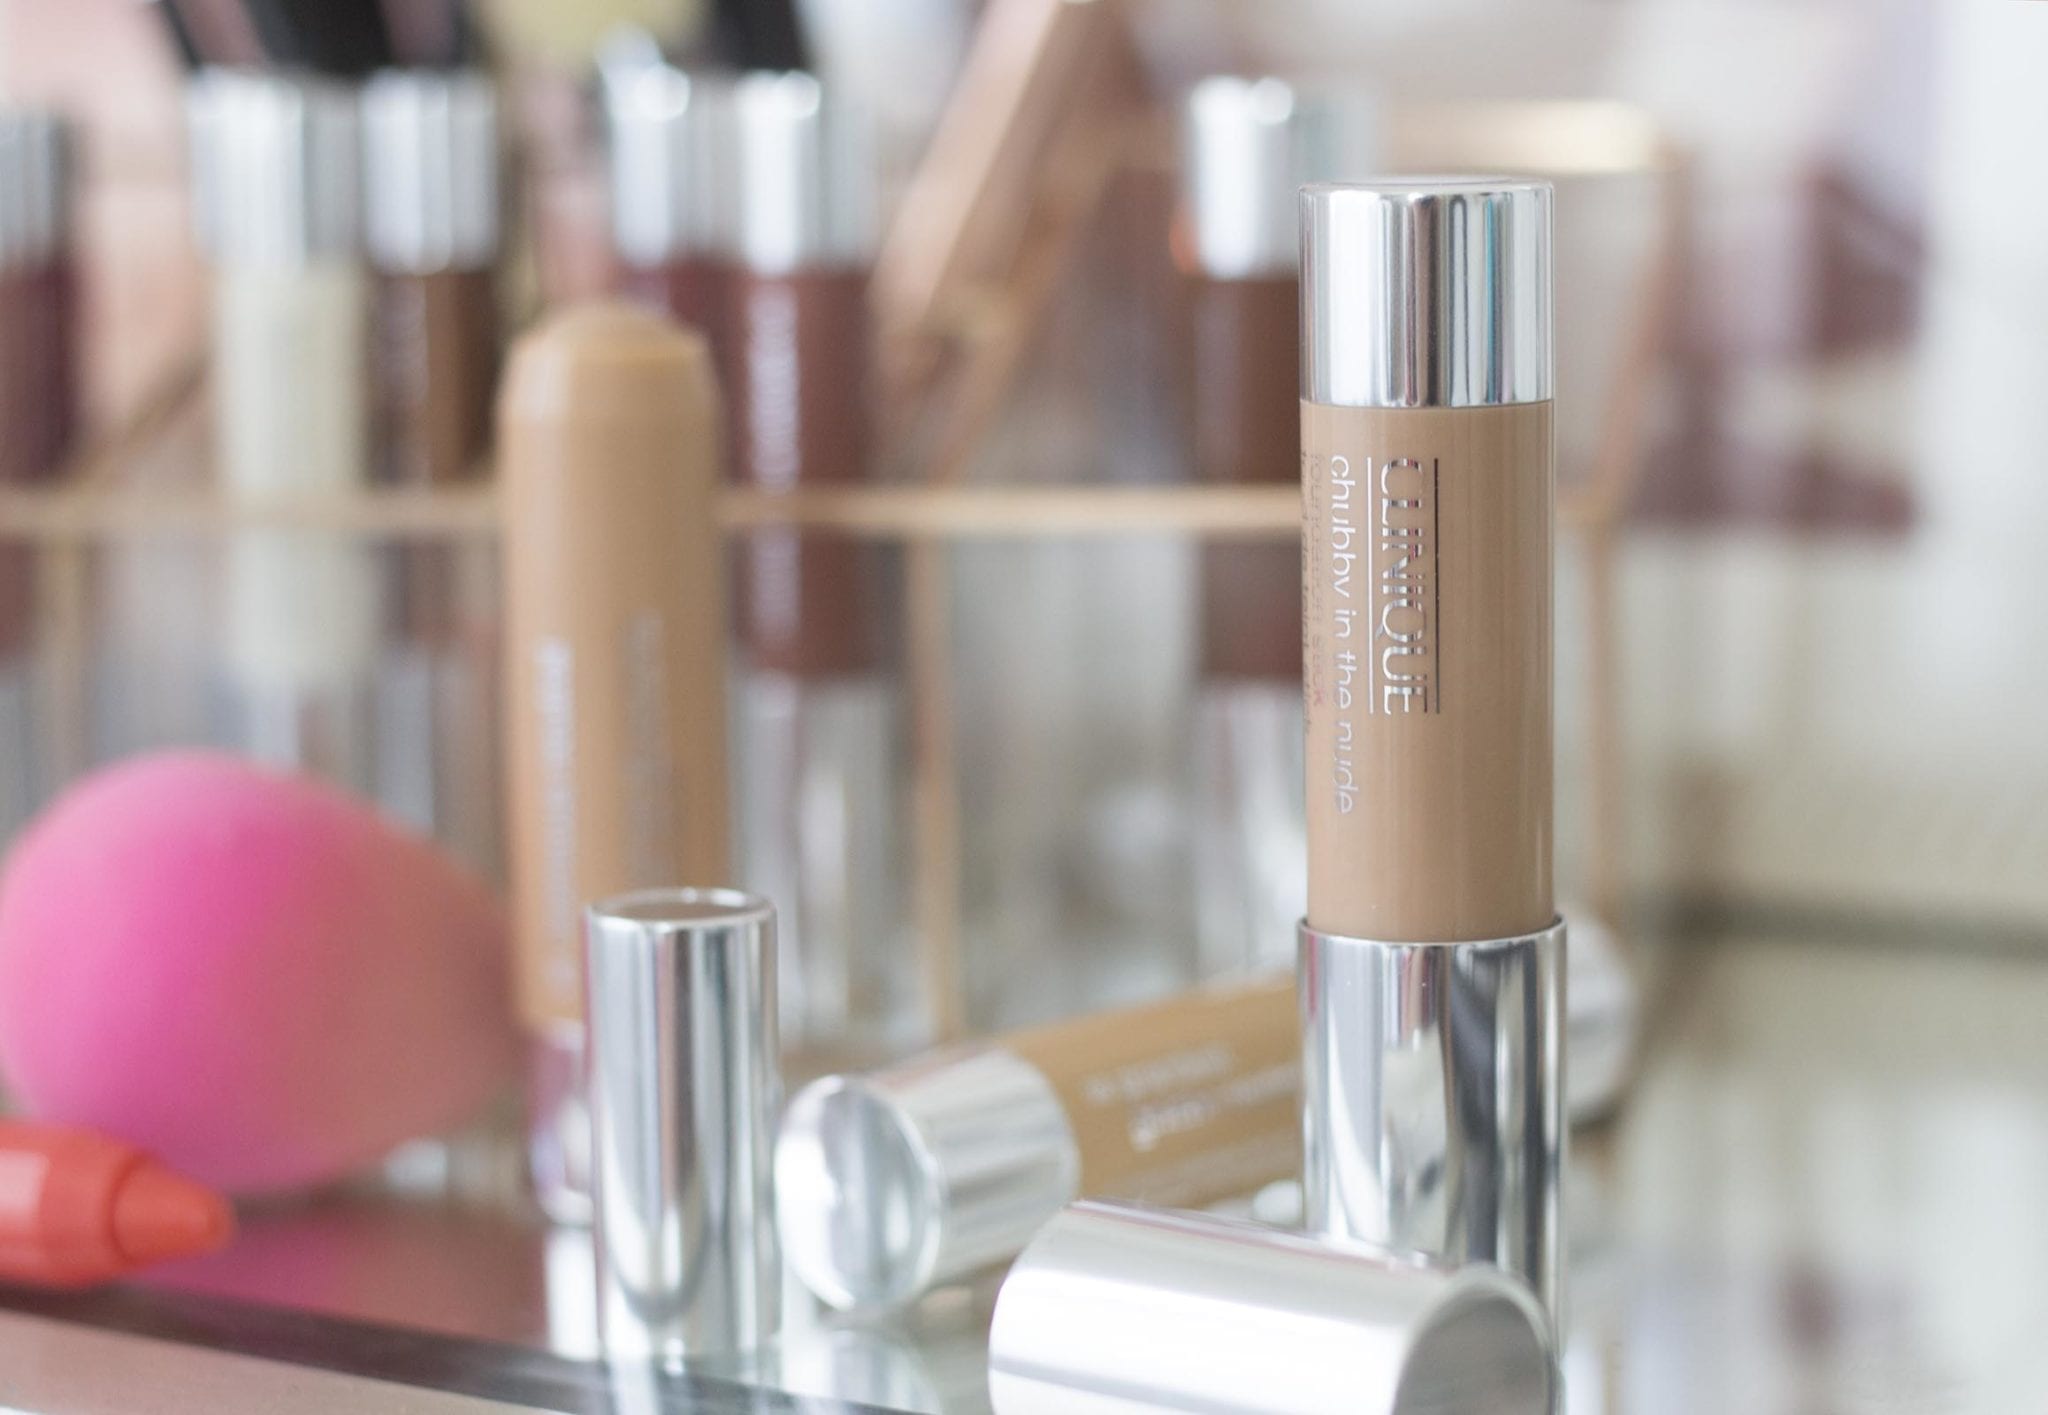
I’ve been seeing SO MANY beauty gurus on Instagram and YouTube using foundation, contour, and highlight sticks and I’ve been curious to try them out myself. I have combination skin–sometimes oily, sometimes dry–so I need a foundation that can do double-duty. I partnered with Clinique to test out a handful of their Chubby in the Nude Foundation Sticks and they are so much fun! I love how you can basically doodle on your face and blend it out into a medium-coverage look! Let me take you through how I created this clean-skin makeup look with these sticks…
HOW TO USE CLINIQUE FOUNDATION STICKS
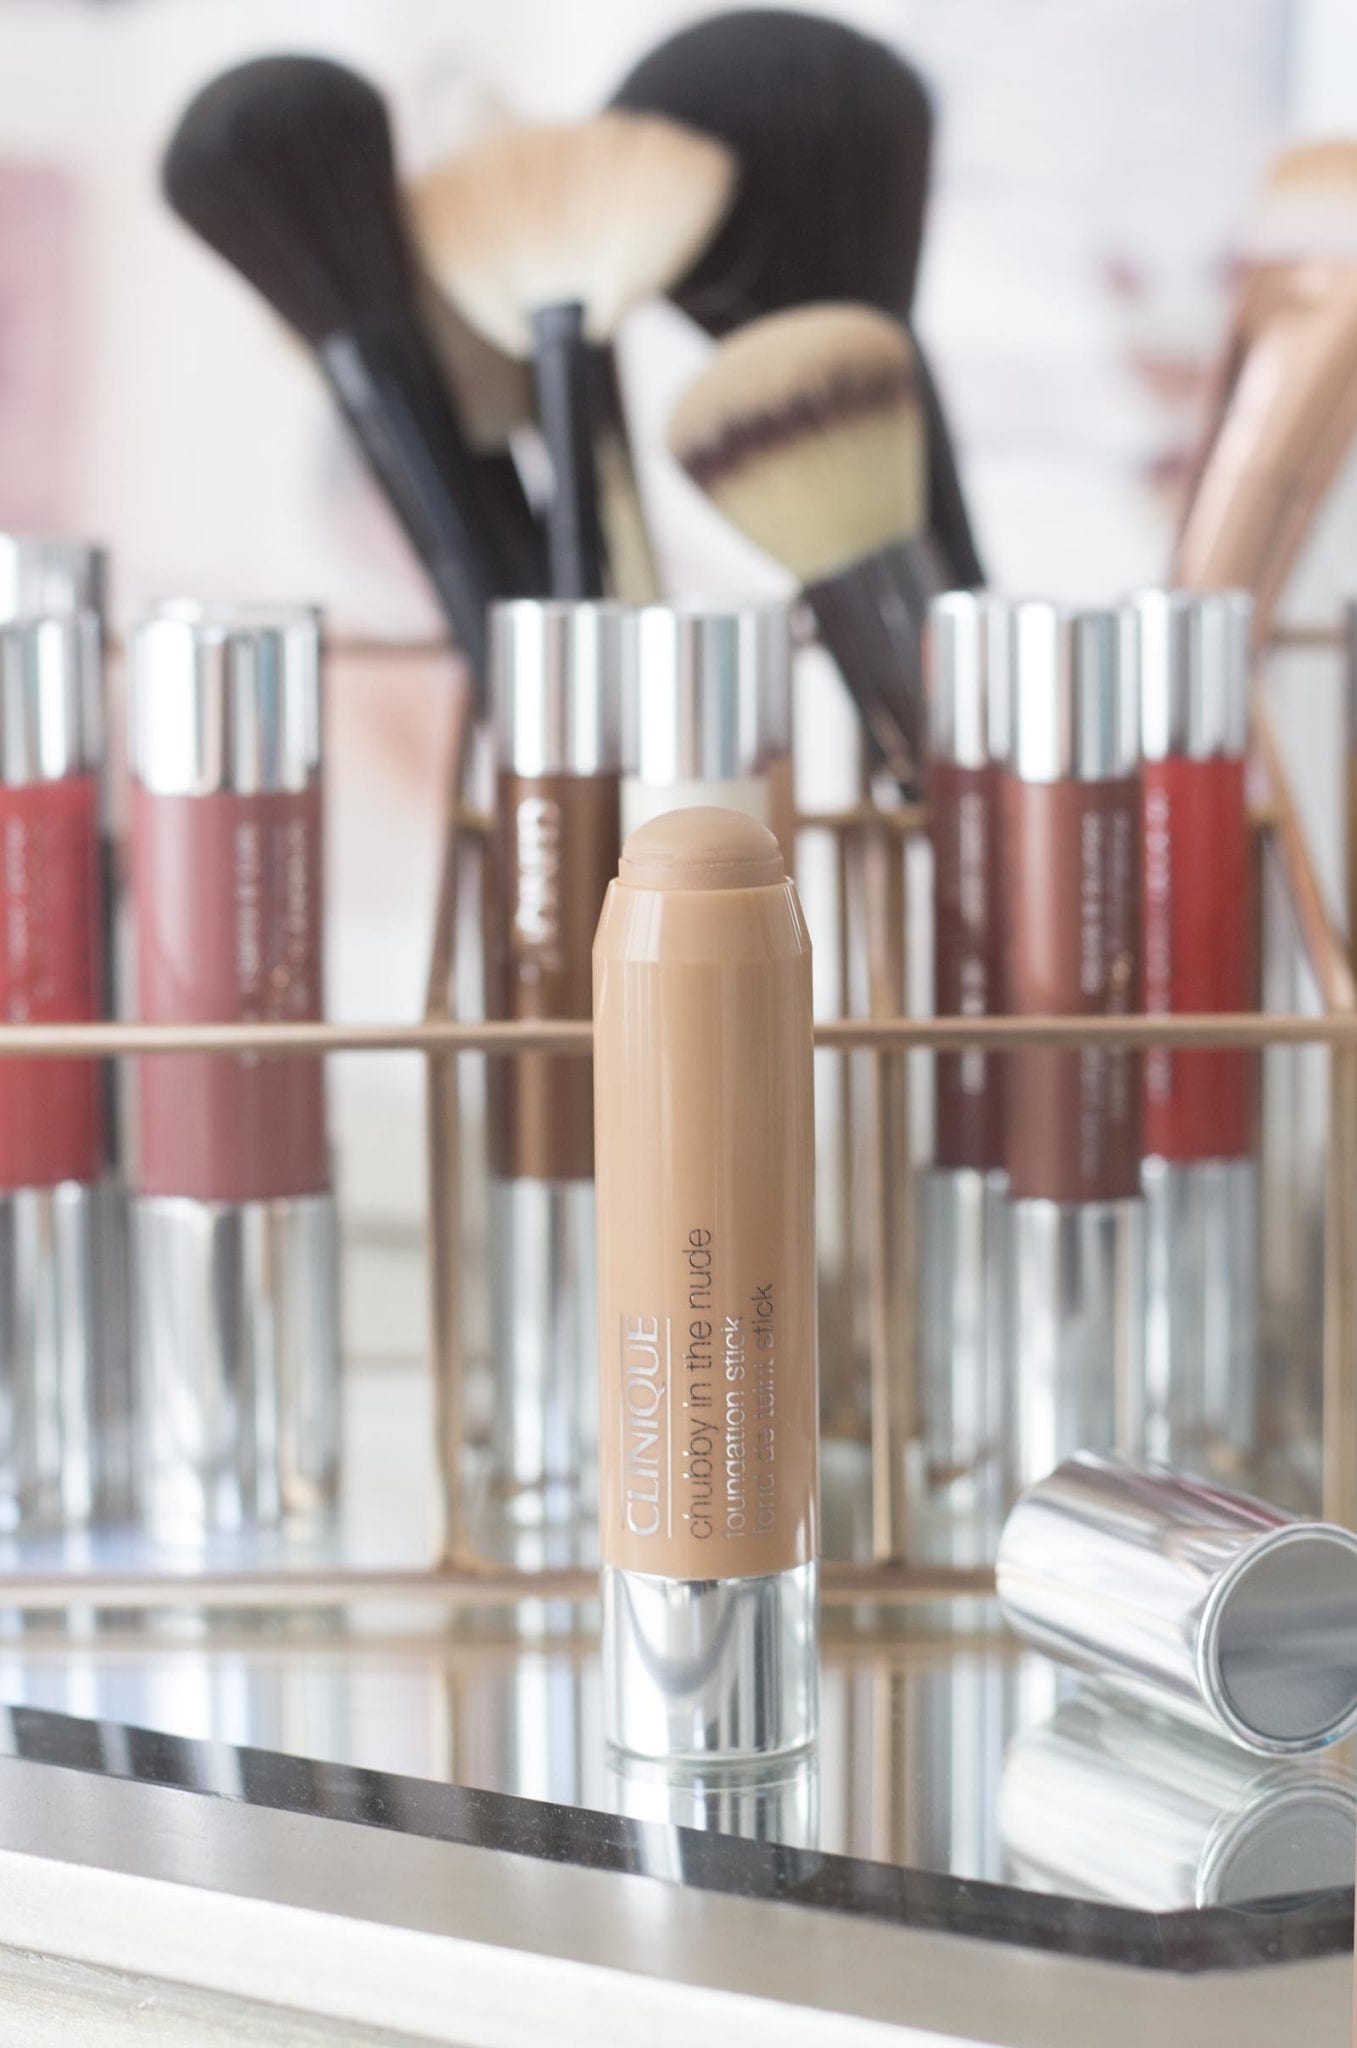
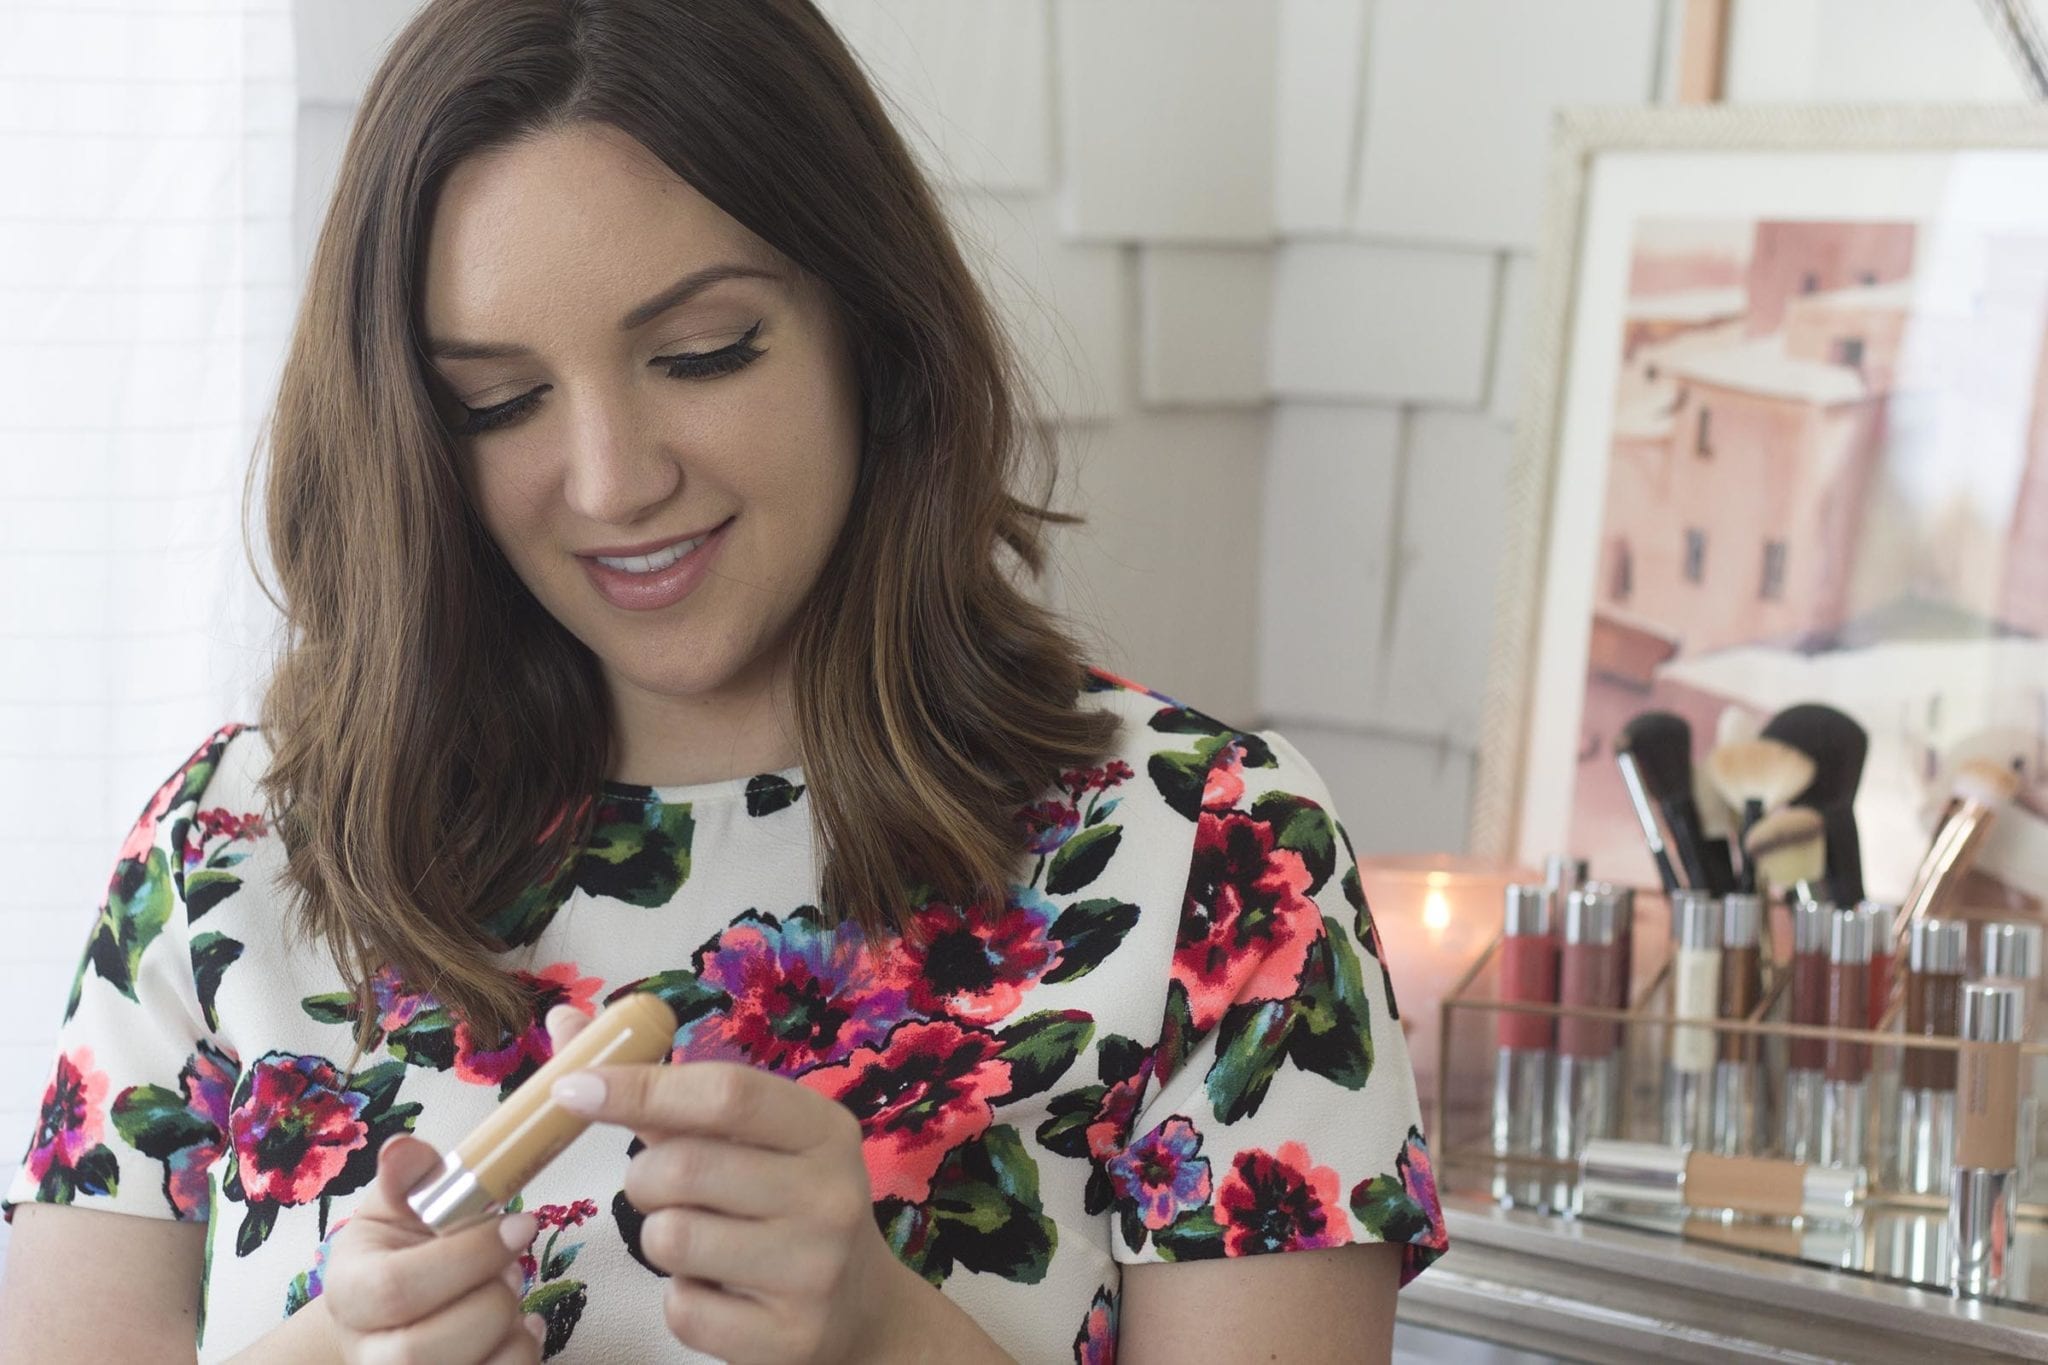
I tried a few different shades of the foundation sticks to find a practically perfect shade match (not an easy task to do!) and settled on Capacious Chamois for my skin tone.
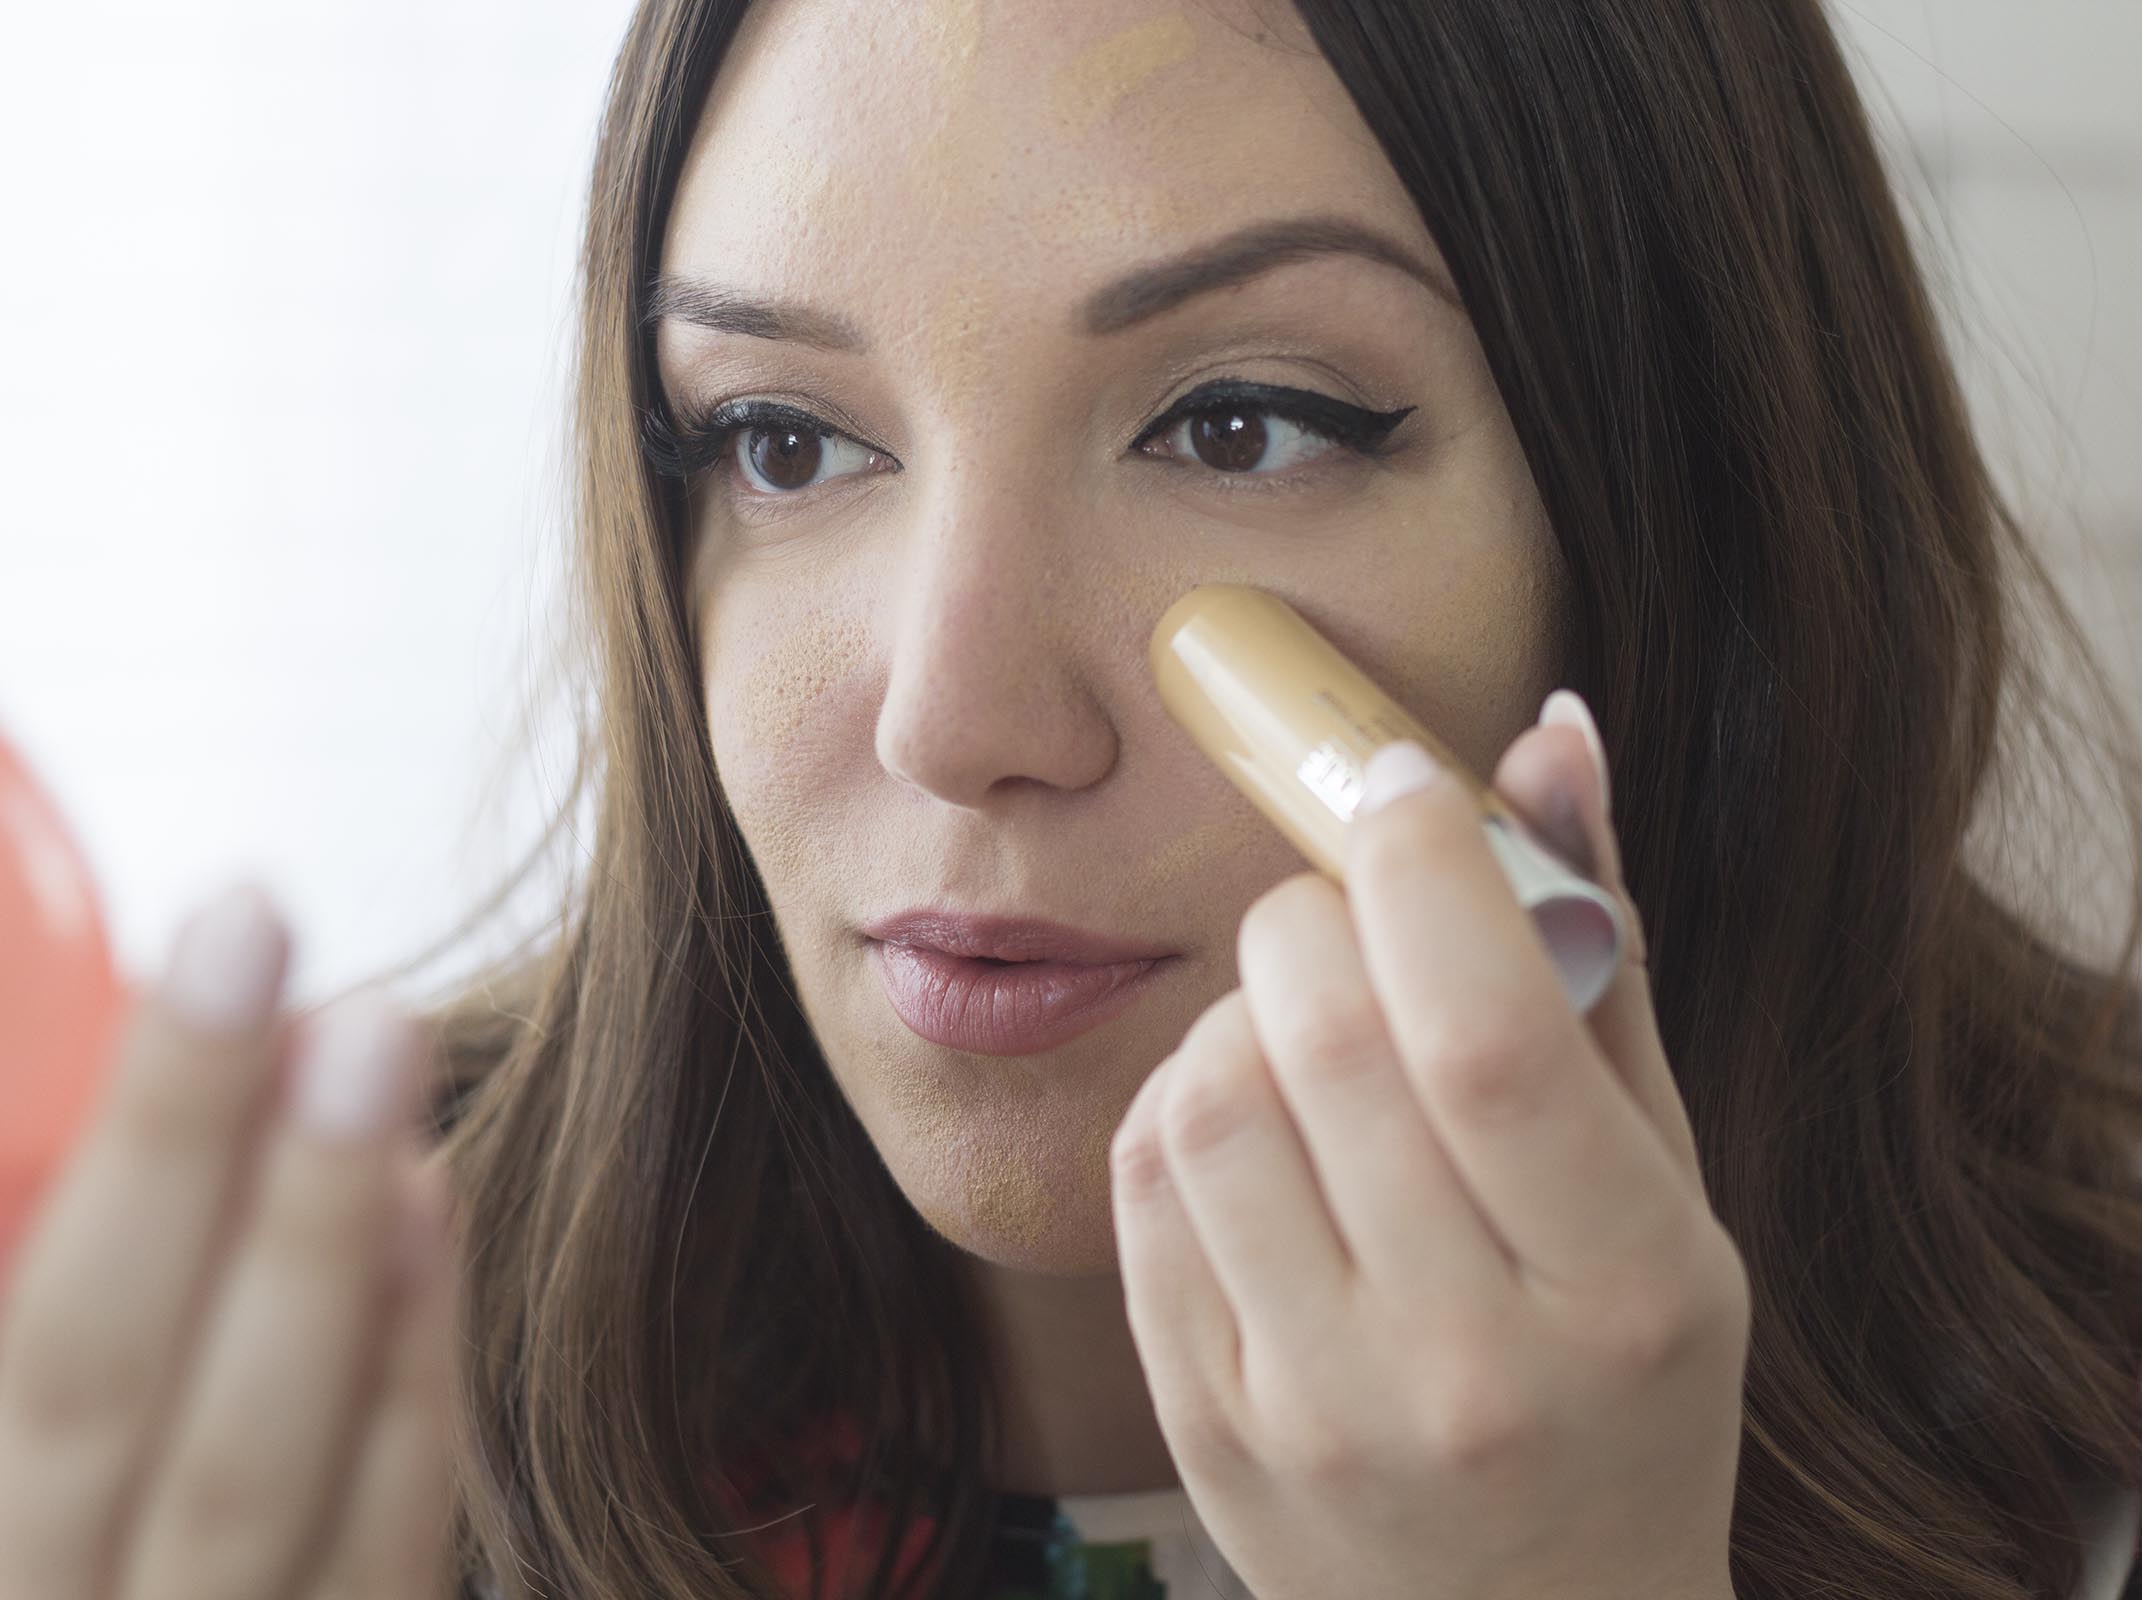
I applied the foundation stick to my primed skin (I applied moisturizer and a mattifying primer first) and drew a flower power style doodle for all-over coverage. I drew flowers on my forehead, cheeks, and chin. I like that you don’t really have to be precise with the application since it all gets blended out anyway! (I need to save all of my precision energy for winged liner–am I right?!?). Once you’ve doodled whatever you want on your face, then blend the foundation across your skin with your tool of choice–mine being a damp beauty blender.

For contour, I used another chubby stick– curvy contour–and drew a tiger stripe style doodle on my face to add some shading. I’ll cover off the perimeter and add some definition at the cheekbone and nose. I don’t typically wear a super sharp cheek contour, but its easy to blend this out into easy day or night wear.
When using foundation sticks, don’t be worried about getting it perfect. These foundations blend out with your fingers, brushes, makeup sponges–so as long as you get it on your face, you can make it look great. One of my favorite beauty tips is to “keep on blending”. When I first applied my darker color of contour and started blending, I was worried that it was too deep for my skin tone and that it wouldn’t blend out nicely. Remember–keep on blending! The creamy texture warms up on your skin and working it with your tool of choice blends it perfectly for a natural look.

And there you have it! An easy natural daytime foundation and contour application that is quick and easy to apply even if your makeup skills are newbie level or expert!
Have you guys ever tried foundation sticks? I’m glad I expanded to try a new foundation and contour routine to mix things up in my makeup bag.
What is your favorite way to apply foundation and contour? I’d love to hear your favorite tips and tricks!

Need more Glam? Follow Just Add Glam here!
| YouTube | Bloglovin’ | Facebook | Twitter |
I got one of these Clinique sticks as a freebie when I ordered from Sephora online a few weeks ago. I have yet to use it because it’s not my skin tone, but I’m sure once I get some sun, it’ll be great. Pinned!
I love your flawless skin! I have been dabbling in the contour arena. It’s alway great to see other peoples techniques. I love the idea of the sticks! Thanks for this great article.
I love that it’s the exact same texture as the contour, so it all blends so seamlessly! I’d love to try these.
I’ve been wondering how these worked ever since I saw my favorite foundation now comes in a stick too. I may have to try it!