
Whether you’re building a new home or planning to replace your existing windows, choosing the right windows for your home can be overwhelming when trying to decide between all the styles, materials, and features that are available these days. Since new windows are a major investment and are supposed to last you up to 20 years, doing some homework now, before you make a purchase can save you a lot of trouble later on.
It’s especially important to understand what you need to do to make sure your windows are winter ready. The last thing you want to worry about is leaks or damage when you’re trying to enjoy the first snowfall of the year. So, here are a few tips from our experience renovating The Tahoe A-Frame on how to winterize windows.

HOW TO WINTERIZE WINDOWS:
CHECK WITH YOUR LOCAL COUNTY BUILDING DEPARTMENT AND MAKE SURE YOU’RE BUYING THE RIGHT WINDOWS
Whether you’re building from the ground up or just making upgrades to your current home, you’ll need to have a building permit and get all the right building inspections to go along with your project. Each specialty trade, such as HVAC, electrical or plumbing, has it’s own specific building codes and associated permits. This gives you the permission required to build or make changes to your home.
When we set out on our A-Frame renovation, permits were not our first thought. Or even our second for that matter. But there’s a reason we list this first. We found out the hard way that skipping this crucial step, as cumbersome as it is, will cause you many more headaches after the fact. It’s very locale-specific, but the extent of requirements for windows (or ‘fenestration’ as they are called in the biz) can be lengthy! Even though we weren’t changing the layout of the windows, any ones we touched now had to be brought up to code.
Well, needless to say, the building codes have changed a bit since the early ’60s, when our A-Frame came to be. Invest the time upfront to plan and get the rules straight. You’ll be happy you did. Your local county website or building department will have resources available to find the information you need.
We found it very helpful to call or visit the building department along the way to discuss different parts of the project and confirm our understanding of our research. Not only does it help to build a relationship with the people who will eventually inspect and approve your project but the building codes can be complex and interlinked, so communication is key to a good understanding on both sides. It’s also a good idea to find an experienced contractor or installer that is familiar with local requirements.
Angie’s list has tons of great resources to learn more about these different permits and why you need them. Do some research on your county website about what you’ll need specifically for your home.
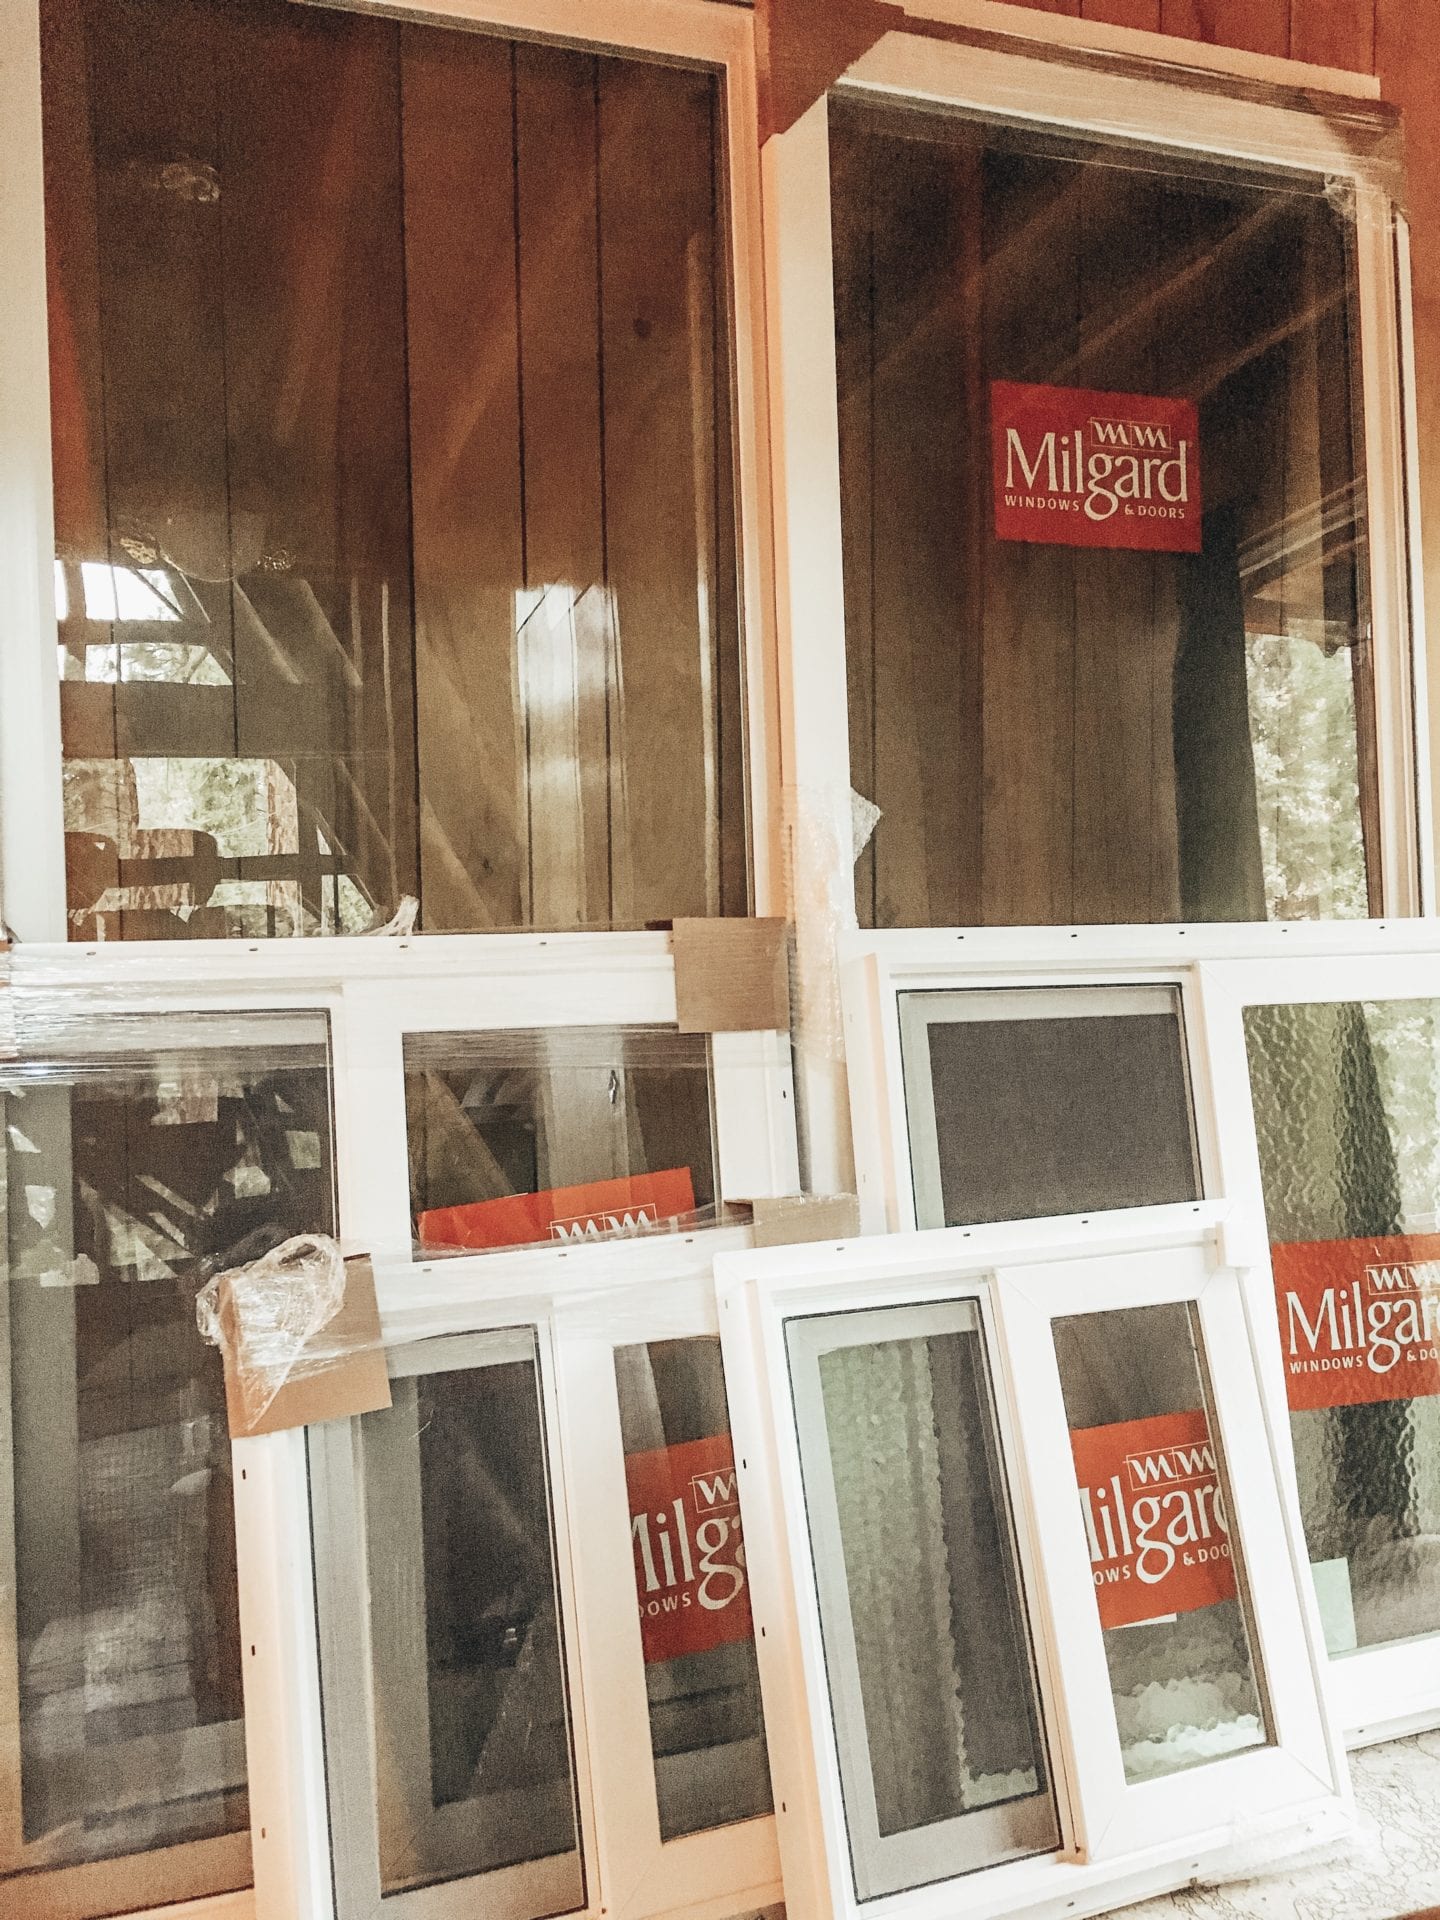
CHOOSING WINDOWS IS CHALLENGING SO WE RECOMMEND WORKING WITH A MEMBER OF THE HOME DEPOT WINDOWS TEAM TO CONSULT FOR HELP
There’s no shame in asking for help! We can’t all be experts in windows, so it’s a great idea to consult someone who is! There’s so much more to ordering windows than just measuring and picking a color. There are many more detailed options for glazing, tempered glass, opening direction, egress, energy ratings, U-factor, etc. These details are important for the building code compliance and can vary based on the placement and use of the window.
Once you’ve prepared yourself with a plan for permit requirements, measurements, and style ideas, the people in the window department at Home Depot can help you decide between all of the options, materials, and features that will work best for your home. On one of our many visits, we checked out the window showroom to get a feel and look at some of our options. We liked the feel of the Milgard windows as they glided and operated easily.
After mulling it over, we called first to make contact with their window expert. We gave them the measurements and major details for our project and requested price quotes on a couple different materials. They were quick to provide a written quote and we set an appointment to discuss in person. Being prepared made it go a lot smoother to finalize our order and make sure all the details were correct and well thought out. Check out this helpful guide on the Home Depot website all about buying the perfect windows for your home.
GET PROFESSIONAL HELP WHEN INSTALLING WINDOWS
Let’s face it, at some point in time, we’ve all tried a home improvement project that was probably better left to a professional. In this case, you don’t want to venture to do this on your own without having a helping hand who knows what to do. Hiring a professional (or using a friend who has done it before) will give you the peace of mind that the job was done right and will save you from a potentially costly mistake of having to redo everything down the road.
We definitely wanted to be hands-on with our renovation, but we are first to admit that we don’t have the skillset to do it all ourselves. We are working with a contractor that has been recommended by multiple friends of ours so feel like we have a pro on hand to cover tricky window installations (in addition to tons of other things–blog post coming soon!). It’s great to have a contractor we can trust to bounce ideas off of, get knowledge about building codes, and ultimately partner with on this challenging journey. It’s so worth it to have professional help!

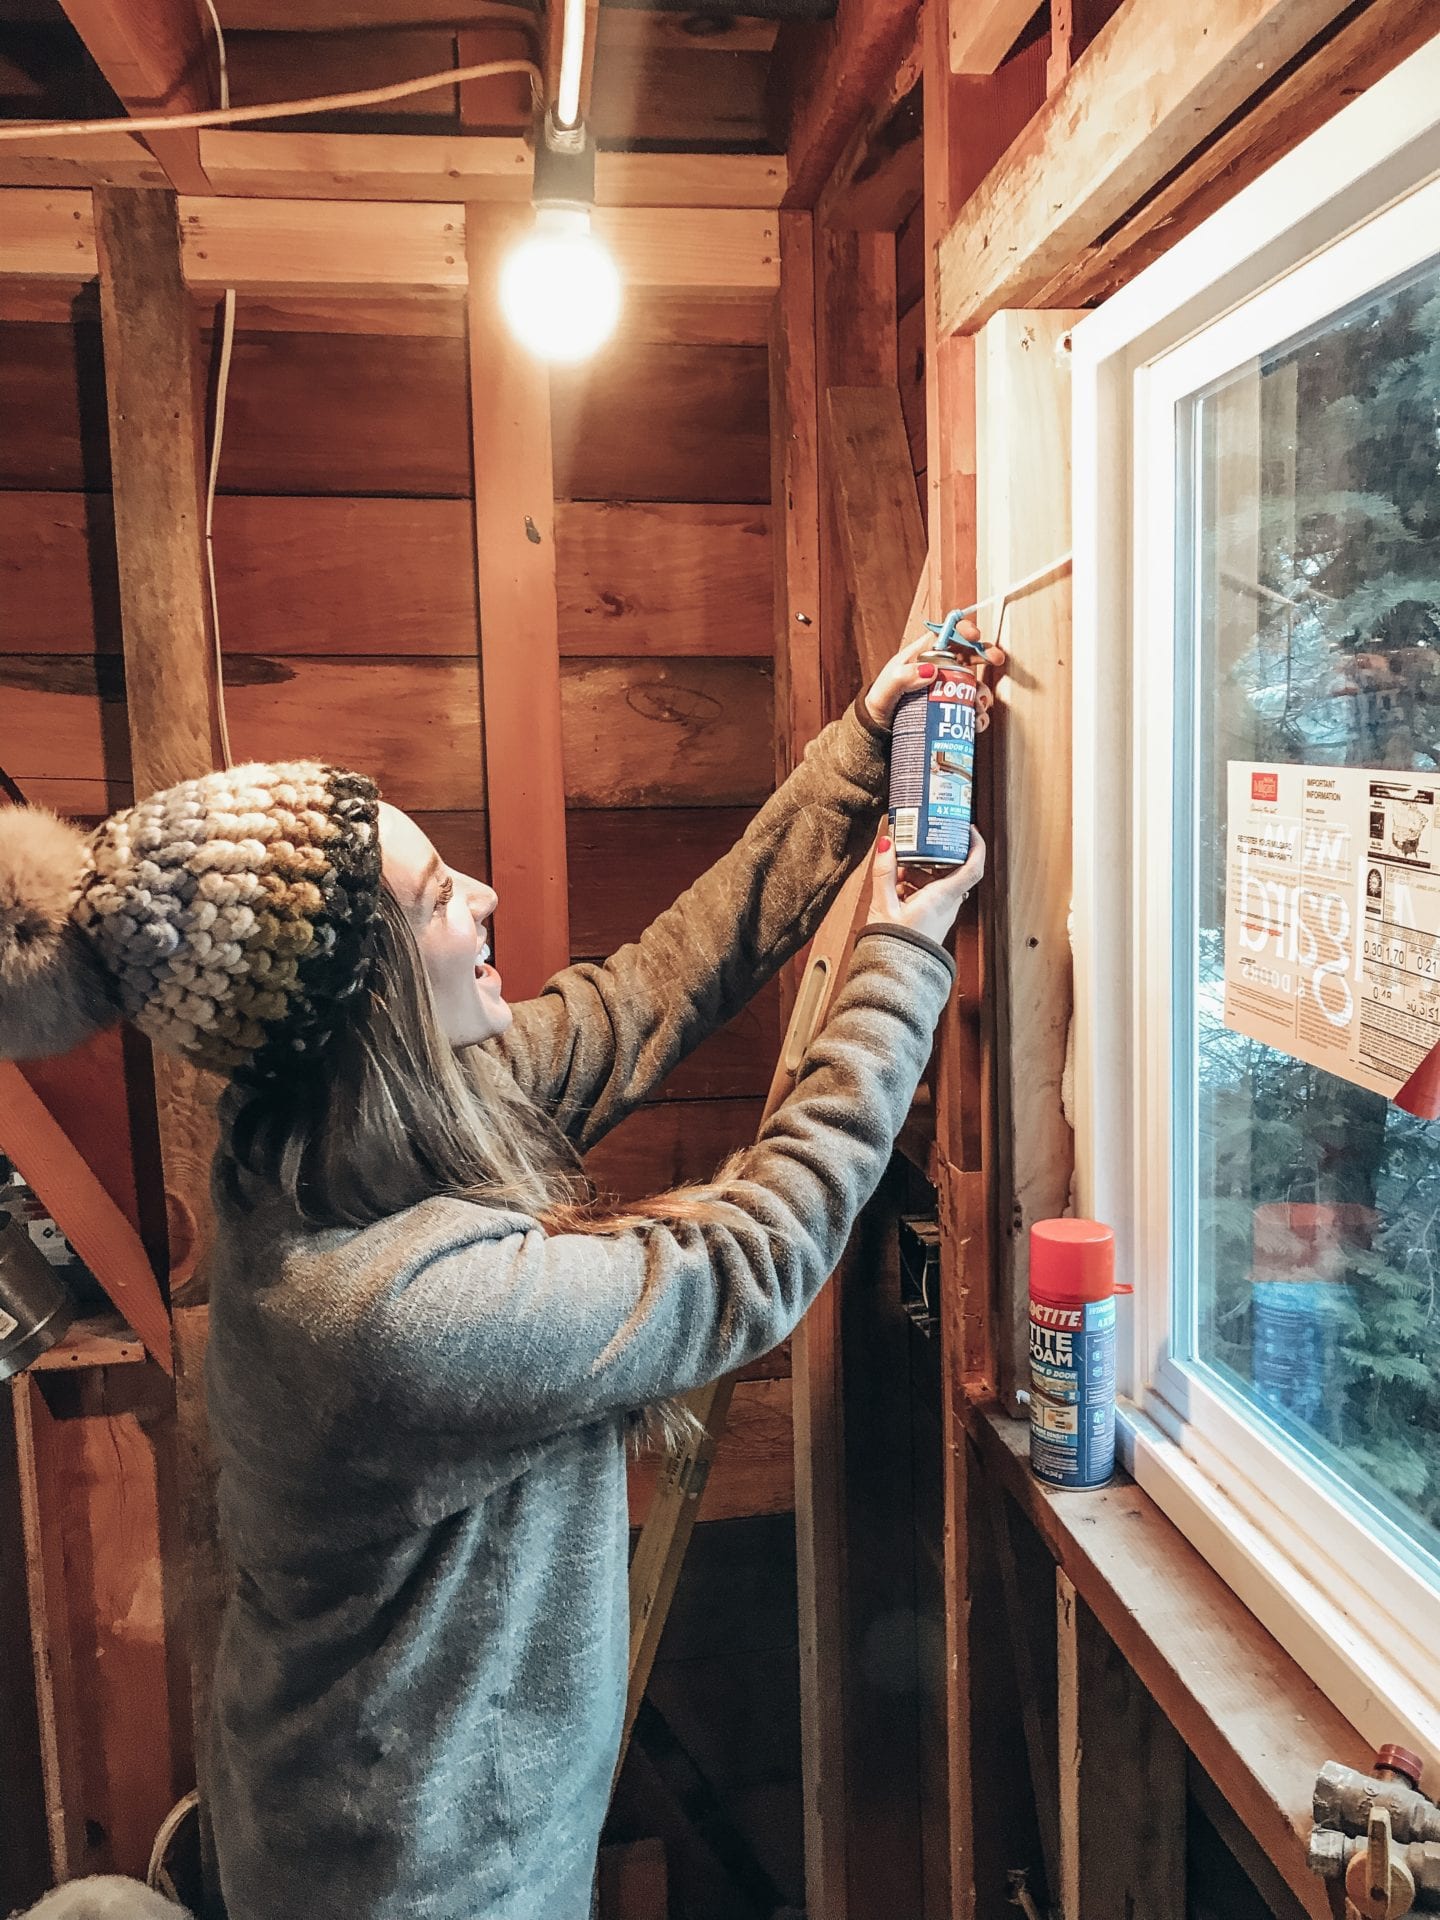
PROTECT YOUR HOME FROM AIR LEAKS USING LOCTITE WINDOWS AND DOORS FOAM
Now for the fun part! When learning how to winterize windows, this product is a must! Through strong winds, snow, ice or heavy rain, this foam provides a quick durable seal around your windows. It’s designed to not bow or warp window or door frames so you won’t damage anything!
Here are a few quick tips to keep it fun and easy. It’s easy to apply with the straw applicator but it can get messy. This stuff expands and sticks to anything it touches! So wear old clothes and gloves accordingly. Along those lines, mistakes will happen, so when the foam goes places you don’t want, resist the urge to wipe it!! You’ll just end up spreading it and making a worse mess.
Instead, let it harden and then cut or sand it off. Just make sure the foam is completely hardened and cured first, then use a serrated knife, utility knife, or sandpaper to remove the excess foam. If it requires some clean up before curing, acetone (nail polish remover) can be used to clean up the foam before it sets.
We had a lot of fun with this step and found a bunch of other uses around The Tahoe A-Frame while insulating and winterizing! So make sure you get a few more cans!

Great tips dear 😉
http://www.evdaily.blogspot.com
Keep sparkling away